 Mirroring a video simply involves ‘flipping’ it either vertically or horizontally, and effectively creating a mirror image. It differs from rotating the image, as it will effectively reverse the image so that elements on the left are switched to the right (if you flip horizontally), and elements at the top are switched to the bottom (if you flip vertically).
In some cases mirroring a video in this way can help you to improve the composition, especially if you’d like the light, subject, or some other element to be on a different side of the video. The good news is that if you want to mirror a video you can easily get the job done using Movavi Video Editor.
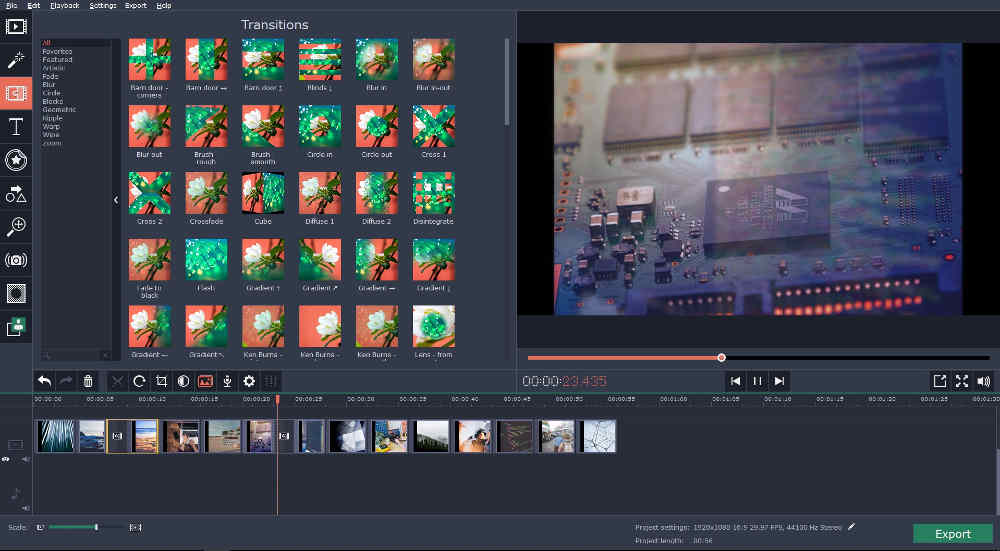
If you already have a video that you’d like to flip and you want to learn how to mirror a video right now – go ahead and launch Movavi Video Editor and select the ‘Create project in full feature mode’ option in the launch window. When the editor opens up, click on the ‘Add Media Files’ button and select the video file that you’d like to flip.
Once you’ve selected the video file, it will appear in the ‘Timeline’ section that is in the lower part of Movavi Video Editor’s interface. To mirror the video you should open up the ‘Filters’ tab on the left and select the ‘Adjustments’ category. In that category you’ll see two separate filters that will flip your video horizontally or vertically, and all you need to do is drag the one that you want to your video in the ‘Timeline’ and drop it into place.
As soon as you drop the filter on your video, you should be able to see the results in the ‘Preview’ window. If you decide you don’t want to mirror it in that way, you can click on the ‘star’ icon on the video in the ‘Timeline’ and remove the filter. Keep in mind that Movavi Video Editor has other ways that you can transform your video’s frame and orientation, including by cropping, rotating, or leveling it.

If and when you’re satisfied with the mirrored video and want to save the changes that you’ve made, click on the ‘Export’ button. In the export window you can then browse through the tabs to select the video format that you want, or use the built-in presets that are included in Movavi Video Editor to optimize your video for a particular device.
Before you save your video however, you should experiment with Movavi Video Editor’s other features. Using them you could enhance the video quality, apply various other filters or effects, cut and join video segments, add audio tracks, insert animated transitions, place customizable text elements, and more.
All of Movavi Video Editor’s features are designed to be easy to use, and you should be able to experiment and become familiar with them really quickly. Once you do you’ll see that you can do far more than just mirror a video, so be sure to give it a try.


